Introduction
In this series I will show you how to create a basic game using Threejs. By the end of this series, you should be able to create the main character, walk around your world, create environment objects such as trees and rocks, detect collisions, fight enemies, and pick up objects. Other than a game tutorial, this series will provide you with a neat set of functions using Threejs that may help you on other projects. Let's begin!
Before We Start
The examples I am going to give will put everything into a front-end Javascript file. When creating a real game you will likely want to separate a lot of the code onto the backend of your server. For the sake of brevity and simplicity (the two are not mutually exclusive), we will focus on putting everything on the front end. I'm planning on doing a few more tutorials after this series that will use node and socket.io to create a real multiplayer experience.
Getting Started
The very first thing we need to do is get the correct libraries loaded. In this example, I am going to need the core Threejs library and another addition I commonly use, OrbitalControls. You can find the compressed Threejs library here and OrbitalControls here. Add these libraries to the header of your page and we should be good to go.
<script src="https://cdnjs.cloudflare.com/ajax/libs/three.js/89/three.min.js"></script>
<script src="https://s3-us-west-2.amazonaws.com/s.cdpn.io/123879/OrbitControls.js"></script>
Next we are going to create our basic Threejs setup. I'm going to breeze through this. If you are confused about anything please look into the Threejs documentation found here. Below is an example of what our basic setup will look like. This is very common for almost any Threejs program so it would be beneficial to make a template out of the following code:
/**
 * @file
 * The main scene.
 */

/**
 * Set our global variables.
 */
var camera, // We need a camera.
    scene, // The camera has to see something.
    renderer, // Render our graphics.
    controls, // Our Orbit Controller for camera magic.
    container, // Our HTML container for the program.
    rotationPoint;  // The point in which our camera will rotate around.

/**
 * Run initial setup function and loop through rendering.
 */
init();
animate();

/**
 * Initializer function.
 */
function init() {
  // Build the container
  container = document.createElement( 'div' );
  document.body.appendChild( container );

  // Create the scene.
  scene = new THREE.Scene();

  // Create a rotation point.
  rotationPoint = new THREE.Object3D();
  rotationPoint.position.set( 0, 0, 0 );
  scene.add( rotationPoint );

  // Create the camera.
  camera = new THREE.PerspectiveCamera(
    50, // Angle
    window.innerWidth / window.innerHeight, // Aspect Ratio.
    1, // Near view.
    20000 // Far view.
  );

  // Move the camera away from the center of the scene.
  camera.position.z = -300;
  camera.position.y = 100;

  // Build the renderer
  renderer = new THREE.WebGLRenderer( { antialias: true } );

  var element = renderer.domElement;
  renderer.setSize( window.innerWidth, window.innerHeight );
  container.appendChild( element );

  // Build the controls.
  controls = new THREE.OrbitControls( camera, element );
  controls.enablePan = true;
  controls.enableZoom = true;
  controls.maxDistance = 1000; // Set our max zoom out distance (mouse scroll)
  controls.minDistance = 60; // Set our min zoom in distance (mouse scroll)
  controls.target.copy( new THREE.Vector3( 0, 0, 0 ) );
}

/**
 * Updates to apply to the scene while running.
 */
function update() {
  camera.updateProjectionMatrix();
}

/**
 * Render the scene.
 */
function render() {
  renderer.render( scene, camera );
}

/**
 * Animate the scene.
 */
function animate() {
  requestAnimationFrame(animate);
  update();
  render();
}
If you are new to Threejs this may look very complicated, but like all things, it will get simpler the more you use it. What we are doing is creating an HTML container to put our scene in. We created a camera, attached the orbital controls, create the scene, and then we are rendering everything. Go ahead and run the program. You should get a blank black screen but there should be no errors in the console.
The next step is to add something so we know everything is working properly. Let's add a background. Go to the following line of code
scene = new THREE.Scene();
and add a background effect on the next line. Try the following:
scene = new THREE.Scene();
scene.background = new THREE.Color( 0xccddff );
Now when you run the program you should see a blue background. So far so good! Lets add some ambient light too so we will be able to see color in our objects. Below the above code add the following:
// Ambient lights.
var ambient = new THREE.AmbientLight( 0xffffff );
scene.add( ambient );
Create our character.
For the sake of simplicity our character is going to be a regular box. So lets add a box to the screen. Start by settings two variable to keep track of character size. In the variable section at the way top of the program add the following variables.
var characterSize = 50;
var outlineSize = characterSize * 0.05;
Now we are going to create a function called createCharacter() and run it in our init function. Add the following code to the bottom of your file (below the animate function):
/**
 * Create the main character.
 */
function createCharacter() {
  var geometry = new THREE.BoxBufferGeometry( characterSize, characterSize, characterSize );
  var material = new THREE.MeshPhongMaterial({ color: 0x22dd88 });
  box = new THREE.Mesh( geometry, material );
  box.position.y = characterSize/2;
  rotationPoint.add( box );

  // Create outline object
  var outline_geo = new THREE.BoxGeometry( characterSize + outlineSize, characterSize + outlineSize, characterSize + outlineSize );
  var outline_mat = new THREE.MeshBasicMaterial({ color : 0x0000000, side: THREE.BackSide });
  outline = new THREE.Mesh( outline_geo, outline_mat );
  box.add( outline );
}
Next we place a call to that function in our init(). Place the following code right below the code were you created your rotation point:
createCharacter();
An now add the camera to the box below you camera positioning code in your init() function:
camera.position.z = -300;
camera.position.y = 100;
box.add( camera );
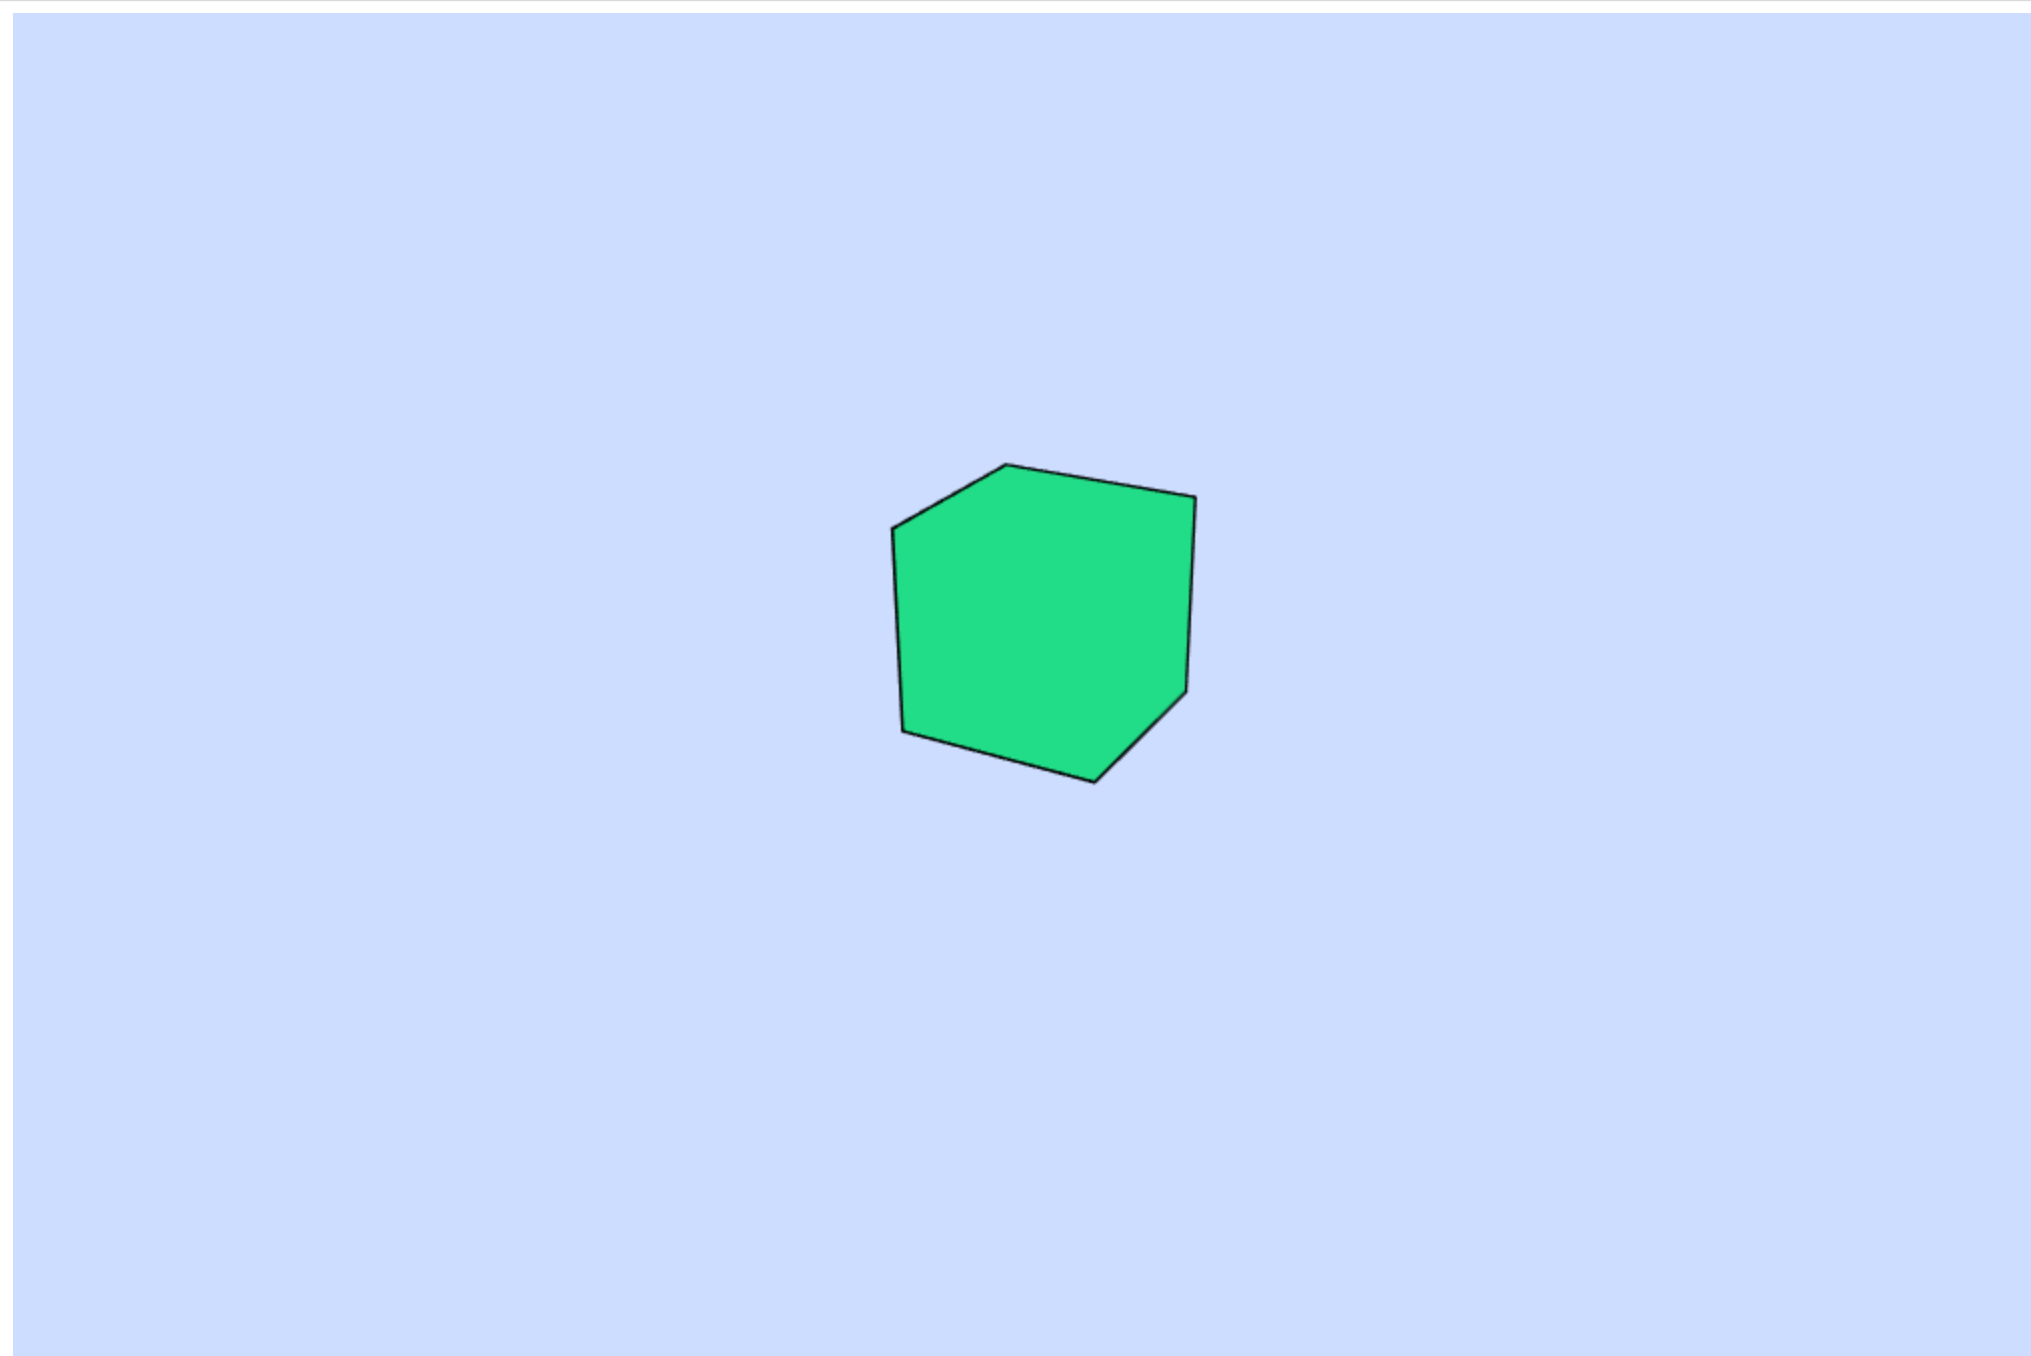
Now you will see a blue scene with a nice green cube. By holding the mouse you will be able to rotate around the cube. The cube will also have a cartoony outline!
See the Pen Moving with Threejs Part 1 Example 1 by Bryan Jones (@bartuc) on CodePen.
Add new comment