Before We Start
If you didn't get a chance to read Part 1 in our series, you can read it here. This explains the basics for getting your program to render. If you can already render an object to the screen and rotate around it (object as the focus) then you can probably start here.
Adding Some Scenery
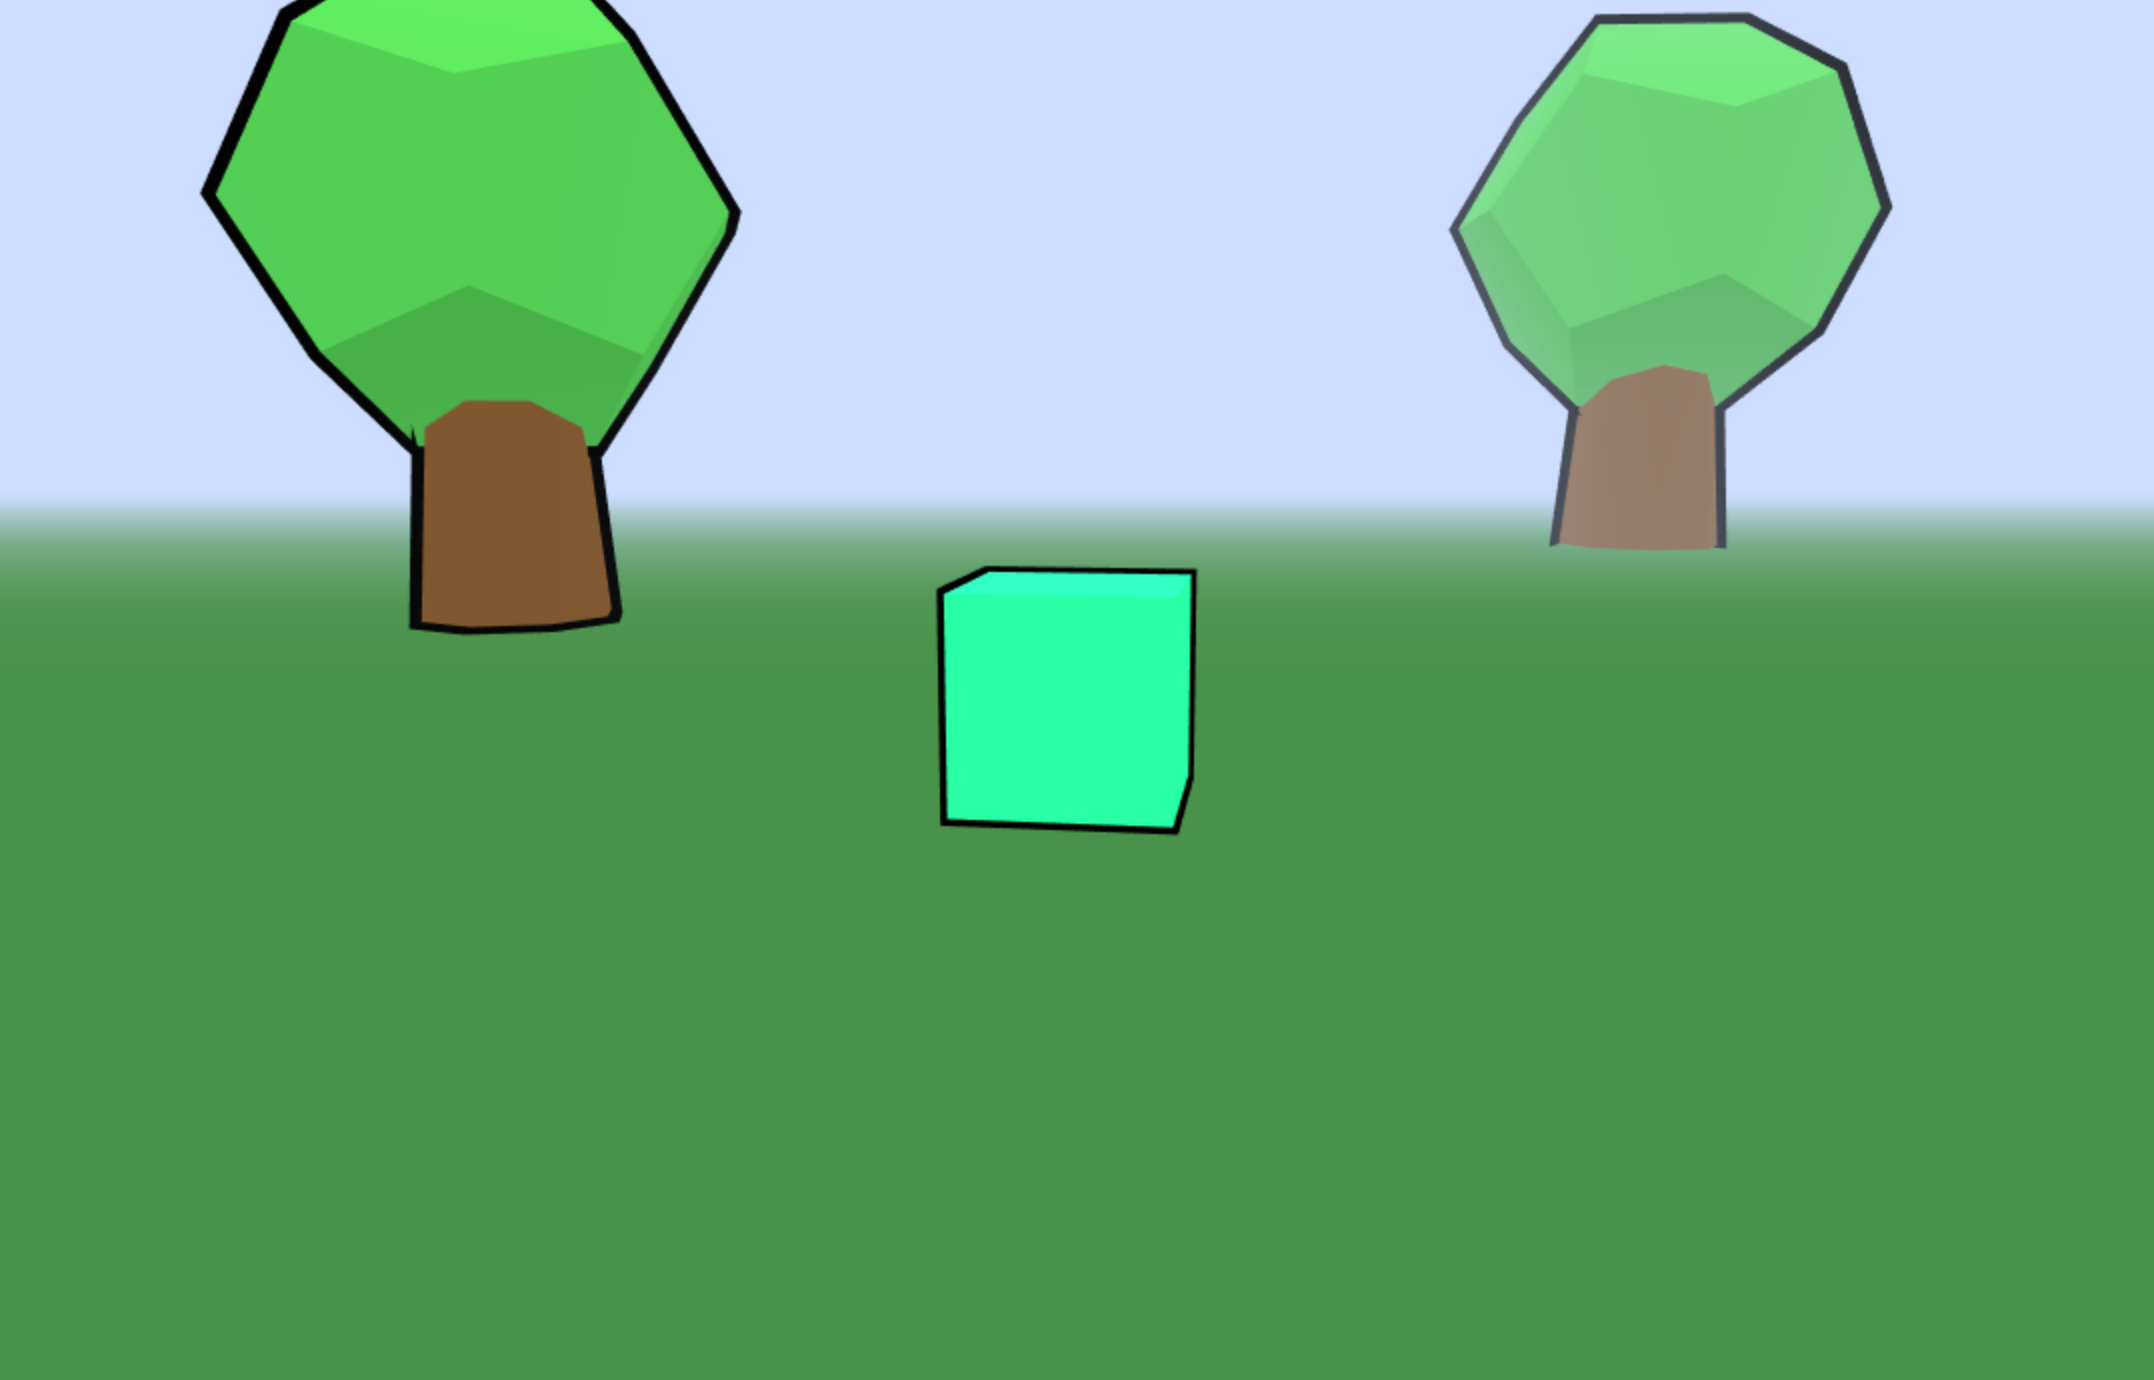
In this tutorial I want to focus on making a nice looking scene. This will include additional lighting, responsiveness, a floor, and some trees. The first thing we are going to do is add some hemisphere lighting so our character looks less bland. Add the following code below your ambient lighting:
// Add hemisphere lighting.
var hemisphereLight = new THREE.HemisphereLight( 0xdddddd, 0x000000, 0.5 );
scene.add( hemisphereLight );
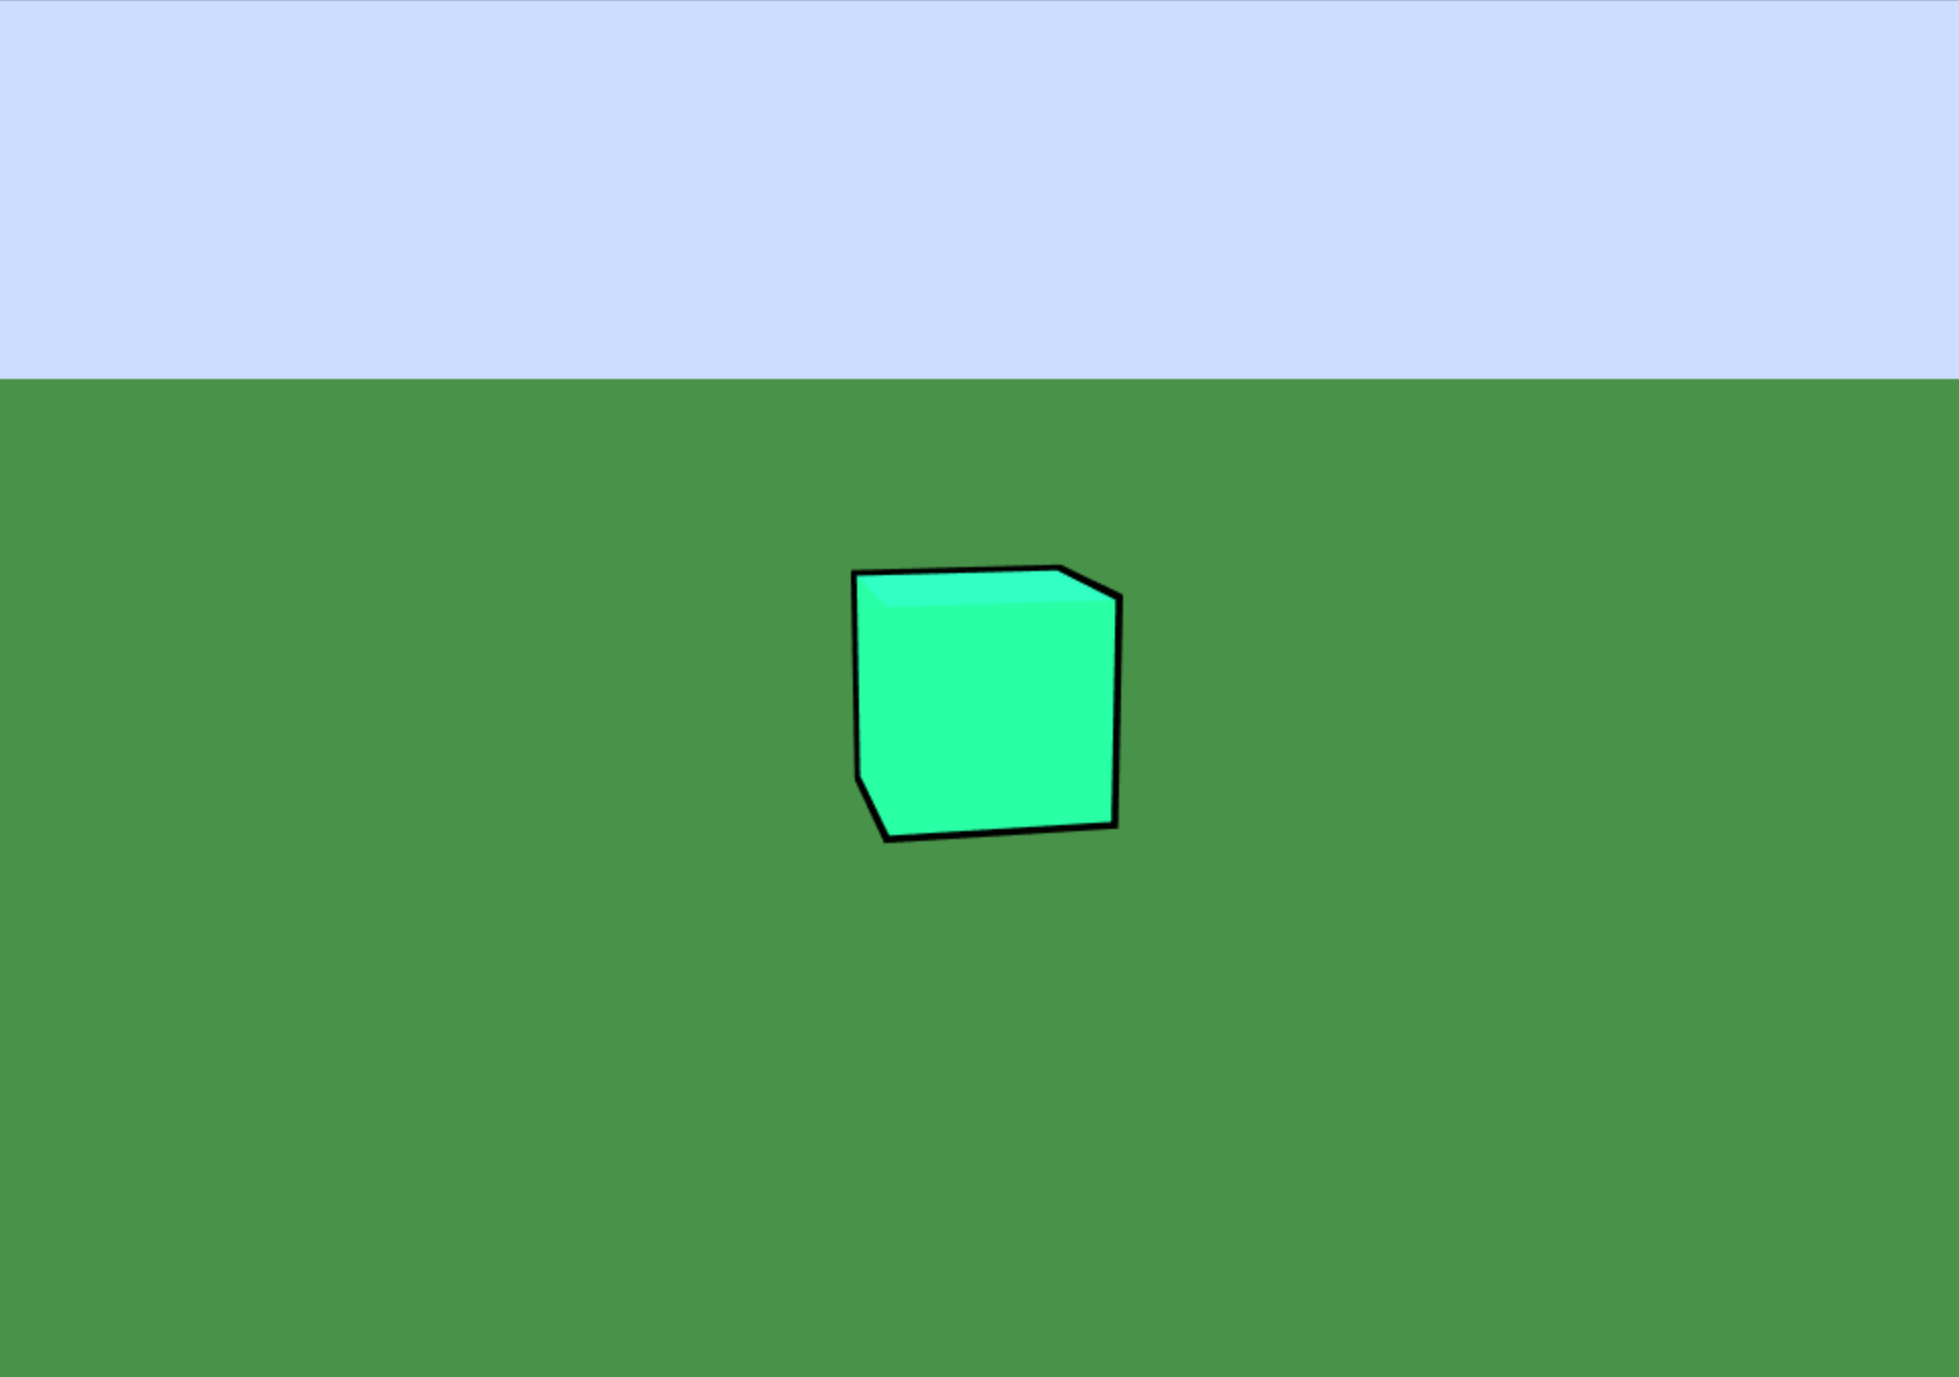
Now you will see that each side of the cube has a slightly different green. Easy! Next we will make our scene responsive. This can be accomplished simply by added a new function to window.resize. After the init() function add a new window.resize function:
window.onresize = function () {
  camera.aspect = window.innerWidth / window.innerHeight;
  camera.updateProjectionMatrix();
  renderer.setSize( window.innerWidth, window.innerHeight );
};
Now when you resize the screen our scene will adapt to the size of the window. Looking much better already. If you have any margin and/or scroll bars in your scene we can easily remove that with some CSS. Add it how you wish (external CSS file or inline in your HTML file. The following CSS should do the trick:
body {
  margin: 0;
  overflow: hidden;
  padding: 0;
}
Awesome! We are going a mile a minute but important changes are happening. We now have nice lighting, responsiveness (looks good on tablets and phones, and our scene doesn't have padding, margin, or scroll bars. Next we will add the floor. You can accomplish this with a Threejs Plane. Check out the docs here for more information. Like the character, we will create a separate function to build the plane and then call the function in your init() function.
/**
 * Create the floor of the scene.
 */
function createFloor() {
  var geometry = new THREE.PlaneBufferGeometry( 100000, 100000 );
  var material = new THREE.MeshToonMaterial( {color: 0x336633} );
  var plane = new THREE.Mesh( geometry, material );
  plane.rotation.x = -1 * Math.PI/2;
  plane.position.y = 0;
  scene.add( plane );
}
Now call this function right below your createCharacter() function.
createCharacter();
createFloor();
Now that was simple but it also added a lot to the scene. Take a look around and you will see that the plane extends far into the distance. Hmm... Almost too far. You probably notice that in most games when things are very far away they appear either blurry, low quality, or even hidden by a fog. Let's hide our distances with a nice fog. Underneath where you added your scene background color, add some fog using the following code:
scene.fog = new THREE.Fog( 0xccddff, 500, 2000 );
Adjust the fog to your liking. You can read more about fog here. The fog will not only look nice but will prevent an enormous amount of objects being loaded at once. Threejs isn't exacty easy on memory and it is best to avoid loading too much at once.
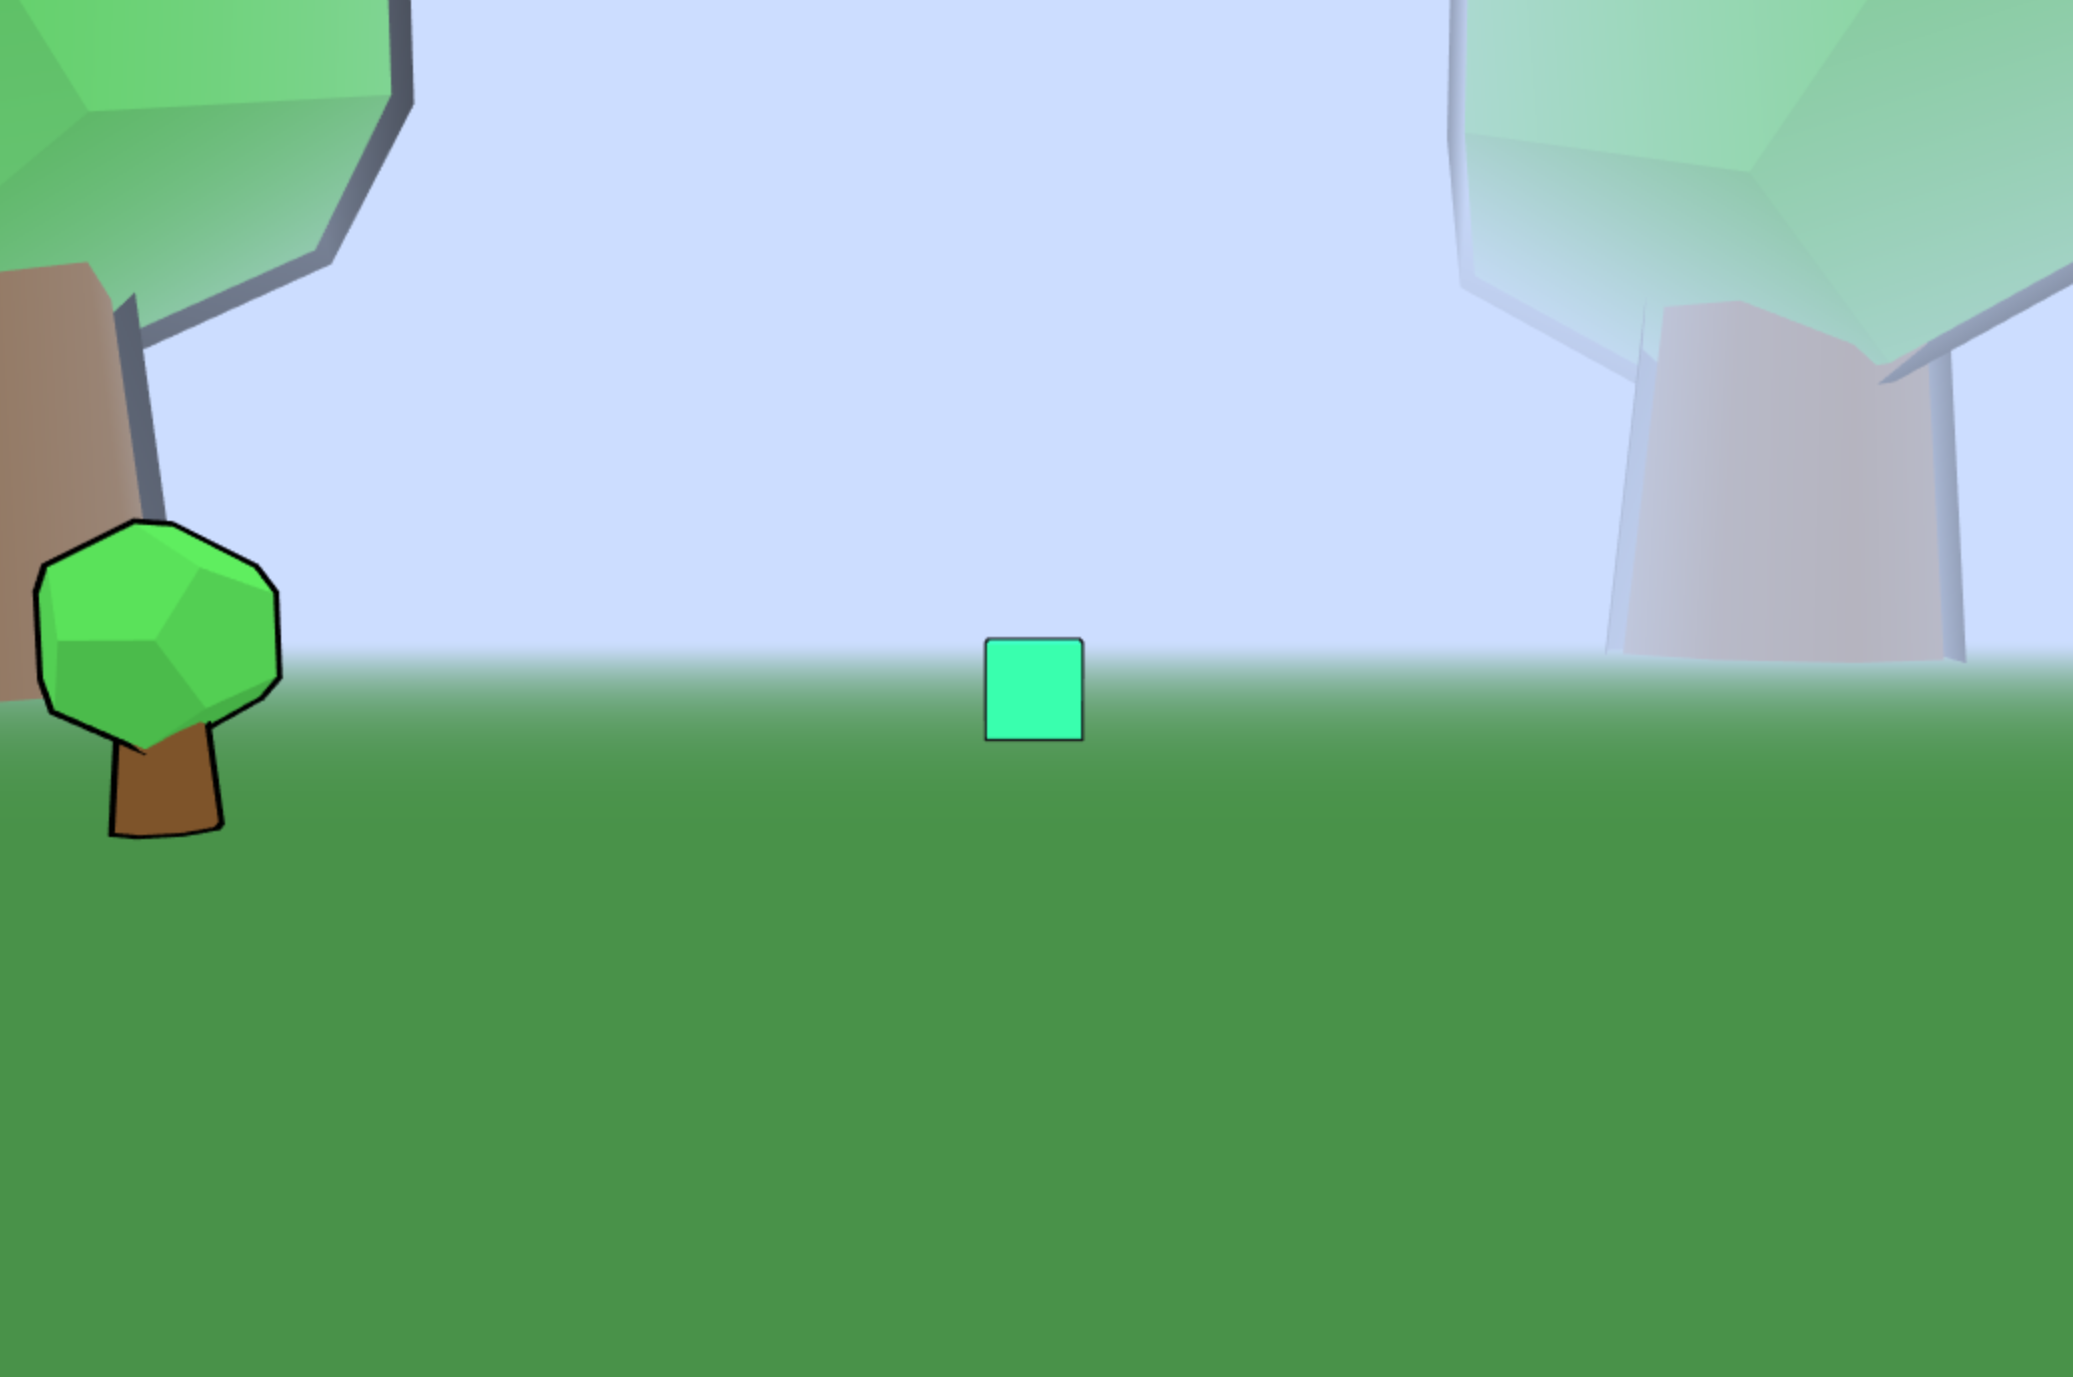
Finally we are going to add some trees. To keep our cartoony look we will create some simple trees using two different objects, a cylinder and a dodecahedron. Again, create a unique function. This function will be called createTree (creative, I know).
/**
 * Create a happy little tree.
 */
/**
 * Create a happy little tree.
 */
function createTree( posX, posZ ) {
  // Set some random values so our trees look different.
  var randomScale = ( Math.random() * 3 ) + 0.8;
  var randomRotateY = Math.PI/( Math.floor(( Math.random() * 32) + 1 ));

  // Create the trunk.
  var geometry = new THREE.CylinderGeometry( characterSize/3.5, characterSize/2.5, characterSize * 1.3, 8 );
  var material = new THREE.MeshToonMaterial( {color: 0x664422} );
  var trunk = new THREE.Mesh( geometry, material );

  // Position the trunk based off of it's random given size.
  trunk.position.set(posX, ((characterSize * 1.3 * randomScale)/2) , posZ);
  trunk.scale.x = trunk.scale.y = trunk.scale.z = randomScale;
  scene.add( trunk );

  // Create the trunk outline.
  var outline_geo = new THREE.CylinderGeometry( characterSize/3.5 + outlineSize, characterSize/2.5 + outlineSize, characterSize * 1.3 + outlineSize, 8 );
  var outline_mat = new THREE.MeshBasicMaterial({
    color : 0x0000000,
    side: THREE.BackSide
  });
  var outlineTrunk = new THREE.Mesh( outline_geo, outline_mat );
  trunk.add( outlineTrunk );

  // Create the tree top.
  var geometry = new THREE.DodecahedronGeometry( characterSize );
  var material = new THREE.MeshToonMaterial({ color: 0x44aa44 });
  var treeTop = new THREE.Mesh( geometry, material );

  // Position the tree top based off of it's random given size.
  treeTop.position.set( posX, ((characterSize * 1.3 * randomScale)/2) + characterSize * randomScale, posZ );
  treeTop.scale.x = treeTop.scale.y = treeTop.scale.z = randomScale;
  treeTop.rotation.y = randomRotateY;
  scene.add( treeTop );

  // Create outline.
  var outline_geo = new THREE.DodecahedronGeometry(characterSize + outlineSize);
  var outline_mat = new THREE.MeshBasicMaterial({
    color : 0x0000000,
    side: THREE.BackSide
  });
  var outlineTreeTop = new THREE.Mesh(outline_geo, outline_mat);
  treeTop.add( outlineTreeTop );
}
This function will create a tree of a random scale from 0.8 to 3 times the size of the character and position it according to it's random size. Now lets add 4 trees to the scene by running our function in the init() function below the createFloor function we added ealier.
  createCharacter();
  createFloor();
  createTree(300, 300);
  createTree(800, -300);
  createTree(-300, 800);
  createTree(-800, -800);
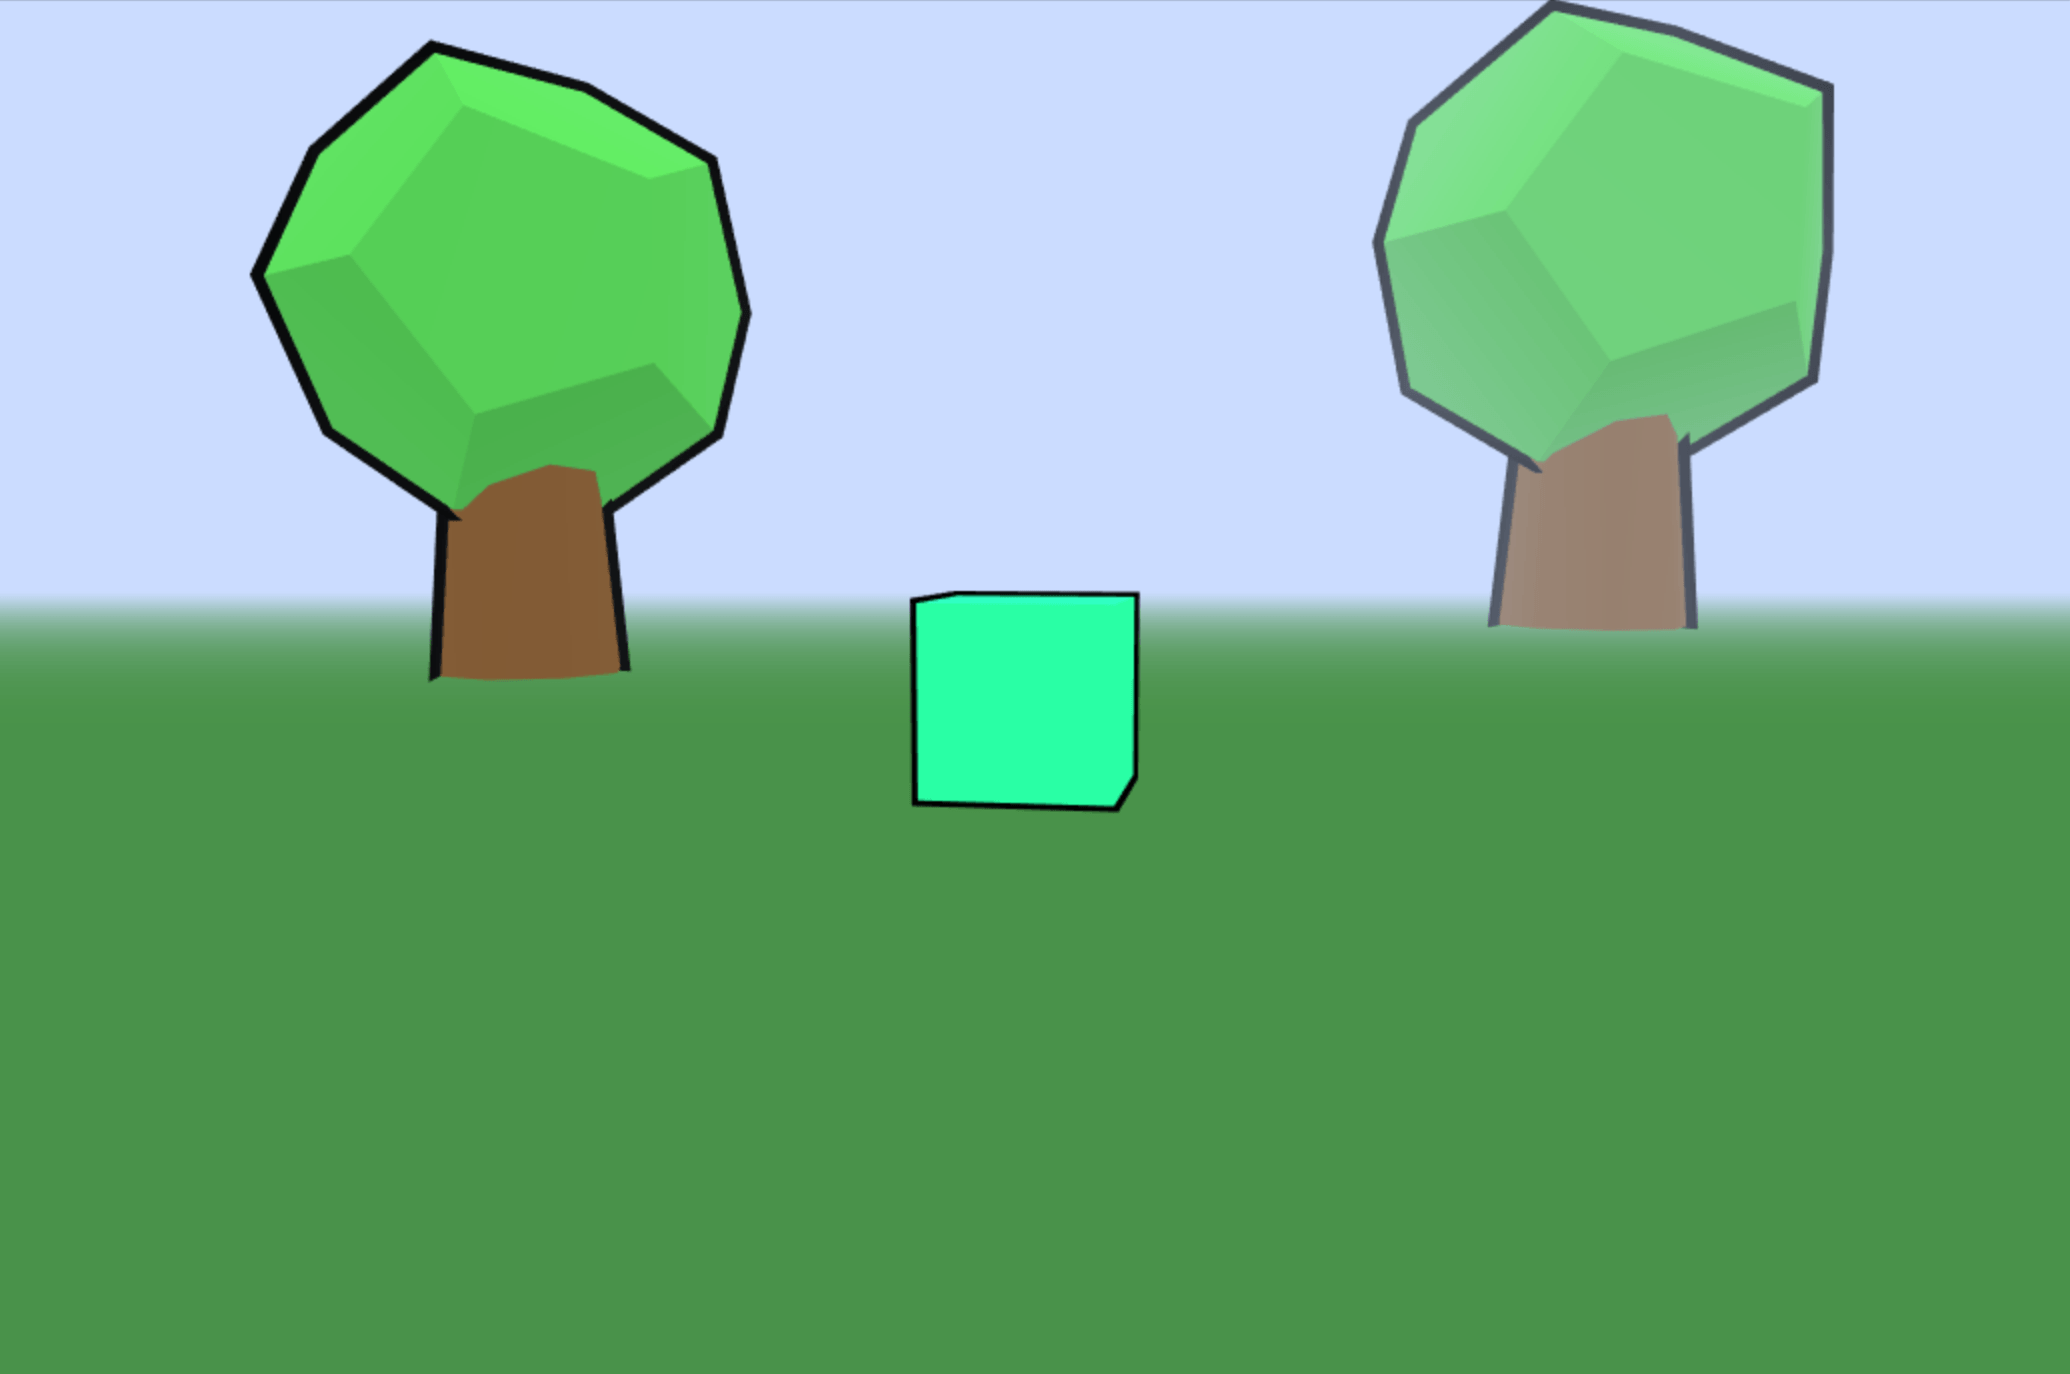
The parameters are the X and Z values of the tree. The Y value is calculated based on the random size so there isn't any reason to pass a contant value. We also randomly rotate the tree on the Y axis so that each one doesn't look copy and pasted.
Threejs handles scaling really well (as do must graphics libraries). Try playing around with the tree values to get some really massive trees. You can try out what we made below. In the next part of the series we will add the ability to move the cube with a click or double tab (if using a mobile device).
Bonus
The camera at this point can go under our floor. This ability isn't one that we desire. In our render function we should make sure the camera can not go below the plane. This is accomplished easy enough. Update your existing render function to match the following:
/**
 * Render the scene.
 */
function render() {
  renderer.render( scene, camera );

  // Don't let the camera go too low.
  if ( camera.position.y < 10 ) {
    camera.position.y = 10;
  }
}
See the Pen Basic Threejs Game Tutorial Part 2: Scene by Bryan Jones (@bartuc) on CodePen.
Add new comment